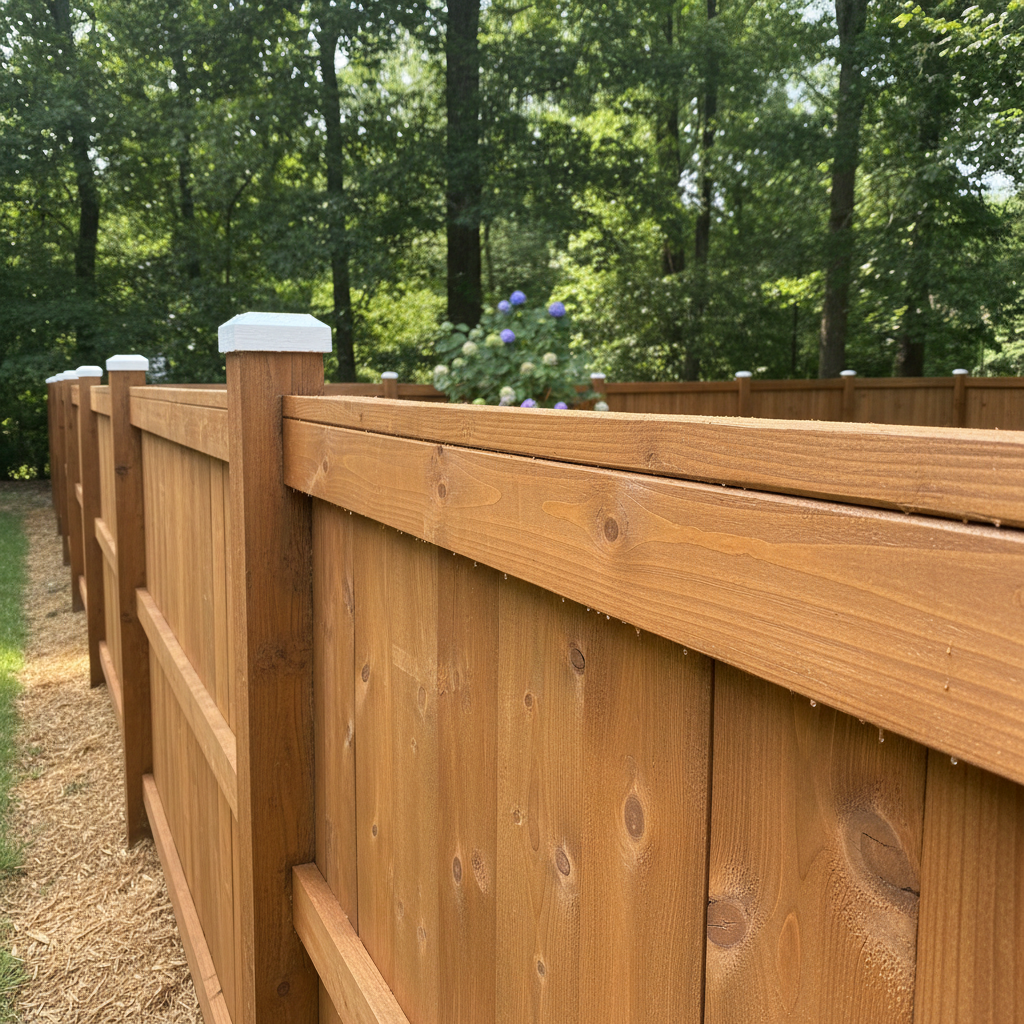
Is Your Fence Ready for a Fresh Coat?
You've got a fence, right? And maybe it's looking a little tired. The sun beats down, the rain washes over it, and before you know it, that beautiful wood is graying out or the paint's peeling. So, you're thinking about staining or painting it yourself. Good on ya for being proactive! A well-maintained fence not only looks better but lasts a whole lot longer, which saves you money in the long run.
Before you even think about buying a can of stain or paint, though, you need to figure out if your fence is actually ready for it. This isn't just about picking a nice color; it's about making sure the surface is prepped right. If you skip this, honestly, you're just wasting time and money. That new coat won't stick or last.
Before You Start: The Critical Prep Work
First off, clean that fence. Seriously, this is non-negotiable. You'd be surprised what accumulates on a fence over time – dirt, mildew, algae, spiderwebs. For most wood fences, a good power wash usually does the trick. Be careful with the pressure, though; too high, and you can actually damage the wood fibers, leaving fuzzy spots that won't take stain evenly. If you're not comfortable with a power washer, or if your fence is older and a bit delicate, a stiff brush, some mild detergent, and good old elbow grease will do. Just make sure to rinse it thoroughly afterwards.
Once it's clean, let it dry completely. And I mean completely. In Knoxville, with our humidity, that might take a couple of sunny days, especially after a good rain or a power wash. Don't rush this part. Staining or painting wet wood is a recipe for disaster – you'll trap moisture, which leads to peeling, bubbling, and mildew down the road.
Next, inspect for repairs. Any loose boards? Nails popping out? Rotten sections? Fix 'em now. Replace any severely damaged pickets. Sand down rough spots or splintered areas. If you're painting, fill any cracks or holes with exterior wood filler and sand it smooth once dry. For staining, you might skip the filler on smaller imperfections, since stain tends to blend better, but larger gaps still need attention.
Finally, protect what you don't want stained or painted. Lay down tarps along the base of the fence to protect your plants and lawn. Tape off any hardware you don't want covered. This takes a little extra time, sure, but it saves a lot of cleanup headaches later.
Stain or Paint? That's the Question
This is where personal preference and the type of fence come into play. Both have their pros and cons.
- Stain: Stains soak into the wood, which really enhances its natural grain. They come in transparent, semi-transparent, and solid varieties. Transparent and semi-transparent stains offer a more natural look and are generally easier to reapply later because they don't peel. Solid stains offer more color and protection but can peel over time, acting more like a thin paint. Stains generally need reapplication every 2-5 years, depending on how much sun and weather they get.
- Paint: Paint sits on top of the wood, creating a solid, opaque finish. It offers the most protection from UV rays and moisture, and you can get pretty much any color you want. The downside? Paint can chip and peel, especially on a fence that expands and contracts with our Tennessee weather. When it's time to repaint, you often have to scrape and sand a lot more than you would with stain. Paint typically lasts longer than stain, maybe 5-10 years, but the maintenance when it fails is usually tougher.
For most wood fences, especially cedar or pressure-treated pine, I usually recommend a good quality semi-transparent or solid stain. It lets some of the wood's character show through, and it's less of a headache to maintain long-term. If you've got an old, beat-up fence that you want to completely transform and cover all imperfections, then paint might be your best bet.
The Application Process: Doing It Right
Once you've prepped and picked your product, it's time to apply. Check the weather forecast! You want a few days of dry, moderate temperatures. Avoid direct, scorching sun, which can make the product dry too fast and leave lap marks. Also, don't try to do this right before a thunderstorm. Our afternoon pop-up storms in Knoxville can be brutal.
For stain, you can use a brush, roller, or sprayer. A sprayer is fastest for large fences, but you'll need to mask off more and deal with overspray. If you spray, always back-brush or back-roll immediately to work the stain into the wood and ensure even coverage. For brushes, use a good quality synthetic brush for water-based products and a natural bristle for oil-based. Work in small sections, from top to bottom, making sure to hit all sides of the pickets and rails.
For paint, the process is similar. You'll likely need a primer first, especially if you're going from a dark color to light, or if the wood is new or heavily weathered. Two thin coats of paint are always better than one thick coat. Let each coat dry completely according to the manufacturer's instructions before applying the next.
When to Call Family Fencing
Look, I'm all for DIY. It's satisfying, and it saves money. But there are times when it makes sense to call in the pros. If your fence is massive, like running the perimeter of a big property, that's a lot of hours you're going to spend out there. If you've got a complex fence design, like a lattice top or intricate gates, getting even coverage can be tricky. And if your fence is in really bad shape – widespread rot, leaning posts, major structural issues – you're probably looking at repairs that go beyond a simple patch job. Trying to paint over serious problems is just putting lipstick on a pig. You'll need those fixed first, and that's where Family Fencing comes in. We can assess the condition, handle the repairs, and even take on the staining or painting if it's too big a job for you to tackle comfortably.
After the Job: Keeping It Looking Good
Once your fence is stained or painted and dry, the hard work is mostly done. But don't forget about it completely. Periodically inspect your fence for any signs of wear, peeling, or mildew. A quick wash once a year can keep it looking fresh and extend the life of the finish. If you see small areas starting to fail, touch them up promptly before they become bigger problems. Keeping up with it means you won't have to go through this whole big process again as often.